 Save
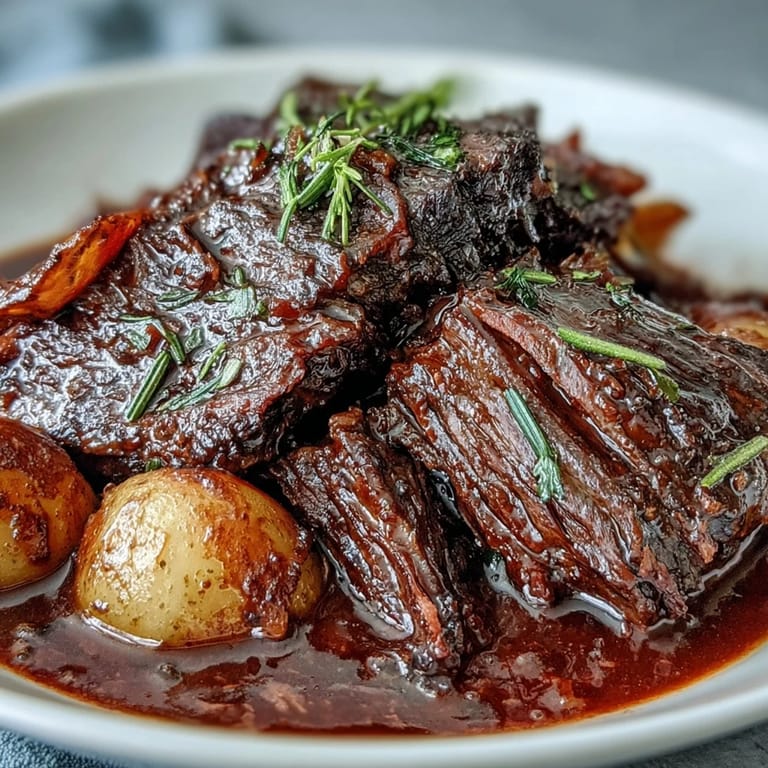
Save The winter I discovered pot roast was the same year my radiator broke and my apartment stayed at sixty degrees for three weeks. Something about that slow, low heat filling every corner of the kitchen made sense when the world outside felt brittle and cold. I'd check the pot every hour, breathing in the deepening smell of wine and beef and herbs, watching the liquid transform into something dark and velvety. My roommate started timing her arrivals around when the roast would finish developing that fork-tender give. Some nights we'd eat straight from the Dutch oven, standing up, while snow piled against the windows.
I made this for my father once, and he called me the next morning to ask if there was any left. My father never calls about leftovers. The house had smelled so incredible that his neighbor knocked on the door to ask what was happening. We ate around my scratched kitchen table, passing the bowl of potatoes like they were gold coins, everyone silent except for the occasional involuntary noise of satisfaction. That night felt like proof that some dishes are worth every minute they ask of you.
Ingredients
- Beef chuck roast or blade roast (3–3.5 lb): Those streaks of fat melting into the meat during long cooking are what creates pot roast's legendary tenderness
- Kosher salt and black pepper: Season generously now because the seasoning will penetrate deep into the meat as it braises
- All-purpose flour: This creates a subtle crust that helps thicken your cooking liquid into that luxurious gravy
- Olive oil or vegetable oil and butter: Oil handles high heat searing while butter adds that nutty richness we all crave
- Yellow onion wedges: Cut thick so they don't disappear during hours of braising, becoming sweet and meltingly soft
- Garlic cloves: Smashed cloves release their perfume more readily into the braising liquid
- Carrots and celery: These aromatics become sweet and savory, absorbing all those delicious juices
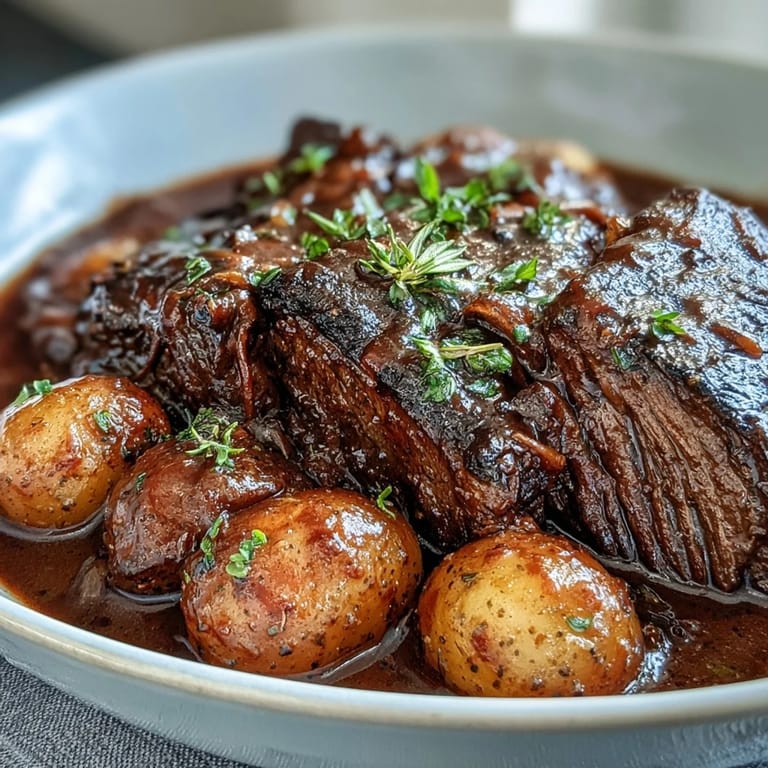
- Baby potatoes: Small waxy potatoes hold their shape beautifully while soaking up flavors
- Tomato paste: This concentrates into something deeply savory, adding body and color to your sauce
- Dry red wine: The acidity cuts through the rich meat while adding complexity and depth
- Beef broth: Low-sodium lets you control the salt level while building that beefy foundation
- Worcestershire sauce: This umami bomb is the secret ingredient that makes everyone ask what you did differently
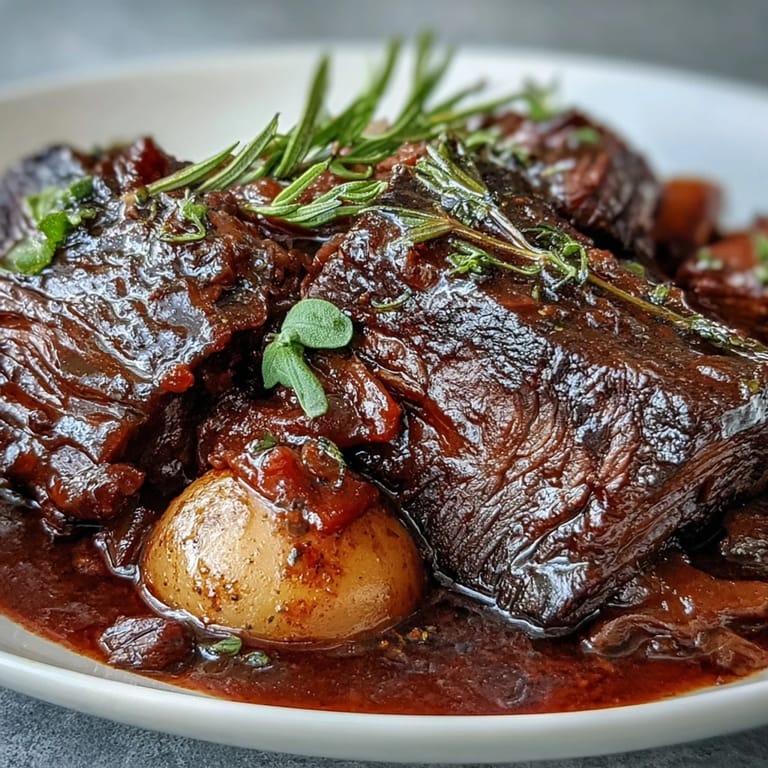
- Fresh rosemary and thyme: Woody herbs hold up to long cooking unlike delicate leafy herbs
- Bay leaves: These add that subtle aromatic backdrop that defines classic braises
Tired of Takeout? 🥡
Get 10 meals you can make faster than delivery arrives. Seriously.
One email. No spam. Unsubscribe anytime.
Instructions
- Get your oven warming first:
- Preheat to 300°F (150°C) so you're ready to transfer everything from stovetop to oven without hesitation
- Season the beef generously:
- Pat the roast completely dry with paper towels, then season all sides with salt and pepper
- Lightly flour the meat:
- Dust the roast with flour, shaking off any excess so you just have a light coating
- Build your foundation of flavor:
- Heat 2 tablespoons oil and butter in your heavy pot over medium-high until the butter foams
- Create that gorgeous crust:
- Sear the roast for 4–5 minutes per side until deeply browned, getting the edges too, then set aside on a plate
- Start the aromatics:
- Reduce heat to medium, add remaining oil if needed, then cook onion wedges until softened and golden
- Wake up the garlic:
- Add smashed garlic cloves and cook just 30–60 seconds until fragrant
- Deepen the base:
- Stir in tomato paste and cook 1–2 minutes until it darkens significantly
- Deglaze the pot:
- Pour in red wine, scraping up every browned bit from the bottom, and simmer 2–3 minutes
- Build the braising liquid:
- Add beef broth and Worcestershire, stirring to combine everything
- Add the herbs:
- Toss in rosemary, thyme, and bay leaves to perfume the whole dish
- Return the beef to its bath:
- Nestle the roast back into the pot with any accumulated juices, ensuring liquid reaches halfway up the meat
- Begin the gentle braise:
- Bring to a gentle simmer, then cover tightly and cook at low heat or in the oven for 1½ hours
- Turn and add vegetables:
- Flip the roast and add carrots, celery, and potatoes around it, submerging vegetables in the liquid
- Finish the braising:
- Cover and cook another 1½–2 hours until beef yields easily to a fork and vegetables are tender
- Rest everything:
- Remove roast and vegetables to a platter, tent with foil, and skim excess fat from the liquid
- Thicken if you like:
- Simmer the liquid and stir in cornstarch mixture, cooking 2–3 minutes until thickened to your preference
- Serve it up:
- Shred or slice beef, return to vegetables, spoon sauce generously over everything
 Save
Save The first time I made pot roast for a dinner party, I was terrified it would be dry or tough or somehow disappointing. When my friend took her first bite and literally went quiet for a full minute, just chewing with this look on her face, I knew something special had happened. That night everyone lingered at the table longer than usual, bread soaking up the last drops of gravy, conversations looping back to the food again and again. Sometimes a recipe does more than feed people, it makes them want to stay a little longer.
Making It Ahead
Pot roast actually improves overnight as the flavors continue melding and the meat absorbs more of the braising liquid. Cool everything completely before refrigerating, then reheat gently the next day. I often make it on Sunday just so Monday dinner feels like someone else cooked for me.
Serving Ideas
Crusty bread for sopping up that gravy is non-negotiable in my house, but buttered egg noodles or creamy mashed potatoes work beautifully too. Sometimes I serve it over polenta when I want something extra comforting, or alongside a bright green salad to cut the richness.
Leftover Magic
Leftover pot roast might be even better than the first night, making incredible sandwiches with sharp cheddar and horseradish. The meat also shines in tacos, over rice bowls, or folded into a hash with the leftover vegetables.
- Chill the cooking liquid overnight so you can easily remove the solidified fat
- Freeze portions in the gravy for emergency meals that taste like pure comfort
- Use leftover shredded beef for a next-level hash or pasta sauce
 Save
Save There's something profoundly satisfying about a dish that rewards patience so generously, transforming a tough cut of meat into something meltingly luxurious over a slow afternoon of cooking. This is the kind of meal that makes a house feel like home.
Recipe FAQs
- → What cut of beef works best for pot roast?
Chuck roast or blade roast are ideal choices because they contain generous marbling and connective tissue. As the meat cooks slowly, this collagen breaks down into gelatin, creating exceptionally tender, juicy beef that shreds easily.
- → Can I make this in a slow cooker?
Absolutely. After searing the beef and building the flavor base on the stovetop, transfer everything to your slow cooker. Cook on low for 8–10 hours or high for 5–6 hours, adding vegetables halfway through cooking if you prefer them to hold their shape.
- → Why is searing the meat important?
Searing creates a deep brown crust through the Maillard reaction, adding complex savory flavors that dramatically improve the final dish. Those browned bits left in the pot also dissolve into the braising liquid, contributing depth to the gravy.
- → What can I substitute for red wine?
Additional beef broth works perfectly as a non-alcoholic alternative. You can also use balsamic vinegar mixed with broth for a slightly different acidity profile. The wine primarily adds depth and acidity, both of which can be achieved through other ingredients.
- → How do I know when the pot roast is done?
The beef is ready when it yields easily to a fork and can be pulled apart into large chunks with minimal effort. This typically requires 3–4 hours of braising time. The vegetables should be tender but not falling apart when pierced with a knife.
- → Can I prepare this ahead of time?
Pot roast actually improves when made ahead—the flavors deepen and the fat solidifies for easy removal. Cook completely, refrigerate, then reheat gently. Leftovers keep well for several days and make excellent sandwiches or tacos.