 Save
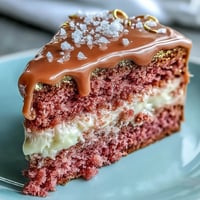
Save Every time I make this no-bake cheesecake, the kitchen fills with the gentle hum of anticipation—something about the sweet scent of melting butter and the tart pop of raspberries makes the space feel instantly inviting. While assembling this treat for Mother’s Day, I found myself smiling at the cheerful mess of biscuit crumbs scattering about the counter, a sure sign that dessert is well underway. There’s an undeniable pleasure in preparing a dessert that’s both decadent and so simple to pull off, especially when time together is the real star. The best part is always pressing the crust into the tin, knowing a creamy filling and ruby-red coulis are just moments away. With each time I’ve made it, the cheesecake seems even creamier, as if it’s picked up a bit of joy from every special occasion.
I remember making this exact cheesecake for my sister on a sunlit Mother’s Day—her two little kids pressed their noses against the fridge, impatiently checking if it was set yet. We ended up dipping stray berries into leftover coulis as we waited, giggling over the tangy sweetness. Just that quick moment turned into one of those little memory snapshots, everyone crowded around the kitchen island, spoons in hand. Since then, this dessert has been the highlight of our family birthdays, no longer just reserved for a single holiday. Even cleanup feels lighter knowing something so lovely is waiting in the fridge.
Ingredients
- Digestive biscuits or graham crackers: These give a sturdy, buttery base; crushing them by hand adds fun crunch and gives the cheesecake real homemade spirit.
- Unsalted butter: Melting this and mixing well with your crumbs ensures the crust holds together—if it looks too dry, add a touch more butter.
- Cream cheese: Creamy and tangy, it must be softened for that dreamy, smooth filling—leave it at room temperature for best results.
- Double cream (heavy cream): Whip this cold and fold gently for volume and that unbeatable pillowy texture.
- Powdered sugar: Gives the filling its delicate sweetness without the grit—you’ll notice its cloud-like dissolve in every bite.
- Vanilla extract: A splash adds warmth and depth; I’ve sometimes switched it out for a hint of almond for something different.
- Lemon juice: The simple squeeze lifts everything, balancing richness with its bright zing.
- Fresh or frozen raspberries: Don’t hesitate to use frozen if fresh aren’t in season—the coulis will be just as lively in flavor.
- Granulated sugar: Sweetens the coulis to that perfect vibrant tartness—it’s key to taste as you go, since berries vary in sharpness.
Tired of Takeout? 🥡
Get 10 meals you can make faster than delivery arrives. Seriously.
One email. No spam. Unsubscribe anytime.
Instructions
- Crush the biscuits:
- Drop the biscuits into a food processor or crush them with a rolling pin, letting the satisfying crunch signal you’re on your way. Mix with melted butter until the crumbs are glistening like wet sand.
- Shape the crust:
- Pour this buttery crumb mixture into your lined tin, pressing firmly with the back of a spoon—listen for that gentle hiss as you smooth it out—then chill while you get on with the filling.
- Whip the filling:
- Beat the softened cream cheese until completely smooth, then add powdered sugar, vanilla, and lemon juice, mixing until glossy. In another bowl, whip the cold cream to soft peaks and fold it into the cheese so the filling stays billowy—don’t over-mix, or you’ll lose the fluff.
- Fill and chill:
- Gently spoon the filling over the cold base, smoothing the top with an offset spatula. Cover and let it rest in the fridge for six hours minimum, though overnight always gives a firmer, sliceable result.
- Make the raspberry coulis:
- Tip the raspberries, sugar, and lemon juice into a saucepan and let them gently bubble, stirring as the berries melt into vivid magenta. Strain through a mesh sieve so the coulis runs silky and seed-free, then let it cool completely.
- Assemble and serve:
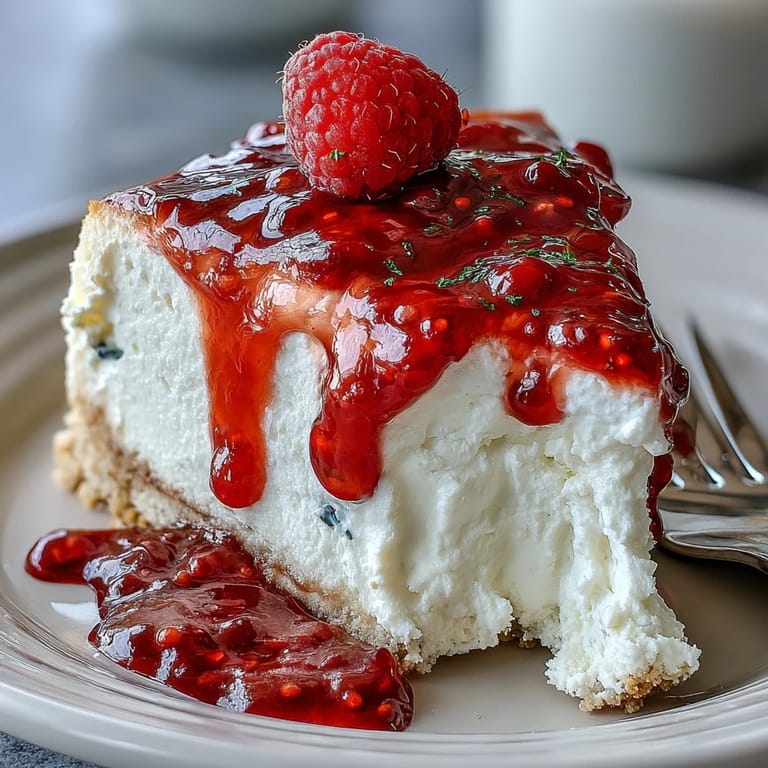
- Unmould your chilled cheesecake onto a serving plate and pour over the raspberry coulis, watching it pool and run in bright streaks—add extra berries if you’re feeling fancy.
 Save
Save 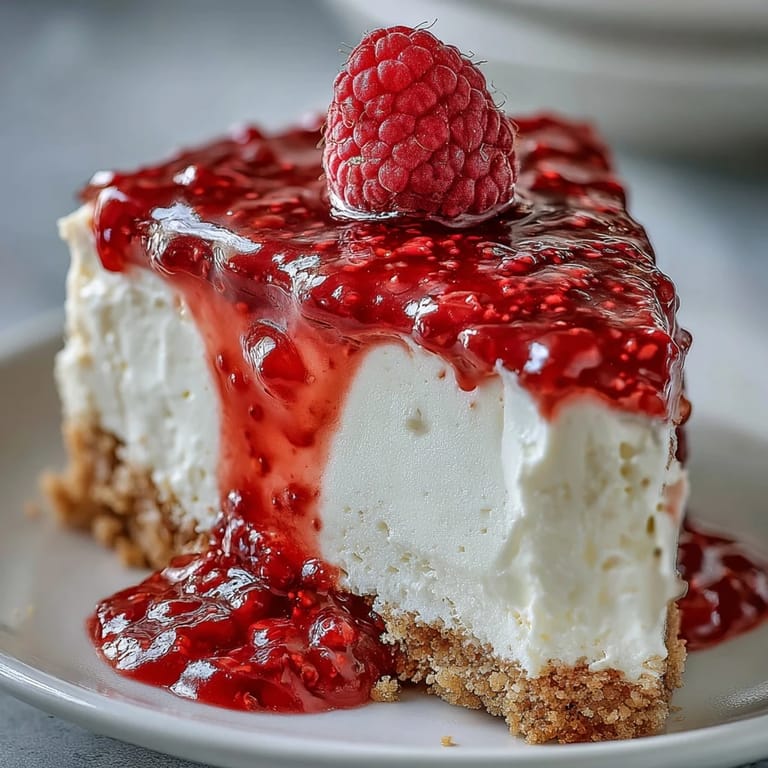 Save
Save There was a rainy spring afternoon when a single bite of this cheesecake—tart, creamy, and mellowed by the biscuit crust—seemed to hush the whole table for a second. Whoever was mid-conversation stopped, eyes widened, and then the room filled with soft laughter and forks scraping plates clean. That was when I knew this cheesecake had become part of our family stories, not just the menu. Sometimes dessert is its own kind of celebration. It made even a gray day feel sunlit.
Choosing the Right Tin (And Why It Matters)
I learned the hard way that the size and shape of your tin can have a real impact: too small, and the cheesecake overflows; too large, and it sets too thin. A sturdy 20 cm springform tin helps release the cake cleanly—no need to worry about stuck edges. If you don’t have baking parchment, greasing the base very lightly will do in a pinch. Keeping the crust chilled while you make the filling prevents sogginess. Little moments like these can make all the difference in getting that perfect, photo-worthy slice.
What to Do with Leftover Coulis
Don’t even think about discarding a single drop of that ruby coulis! I like swirling it into yogurt the next morning, or drizzling it over pancakes for breakfast. My nephew once asked if he could eat ‘the pink sauce’ on ice cream—which, of course, I couldn’t refuse. If you're feeling indulgent, sandwich some in between cookies for a quick treat. Having extra always feels like a bonus rather than waste.
Decorating and Serving with Flair
The magic is in the finishing touches—a scattering of fresh raspberries, a dusting of icing sugar, or even a few edible flowers if you have some on hand. Using a warm knife for slicing gives picture-perfect wedges without any drag. For special occasions, I sometimes pipe a few delicate swirls of whipped cream around the edge, which gets kids and adults equally excited about their slice.
- Make sure the cheesecake is fully chilled before unmoulding.
- Always taste your coulis before serving—it should strike just the right sweet-tart balance.
- Let the cheesecake sit at room temperature for ten minutes before serving for peak creaminess.
 Save
Save  Save
Save Making this cheesecake with someone you love, or just for yourself, is a celebration in itself—no special occasion required. Here’s to sweet moments and the happiest of homemade desserts!
Recipe FAQs
- → How long should the cheesecake chill to set?
Chill for at least 6 hours, preferably overnight. Extended chilling helps the filling firm so you get clean slices and a stable texture when serving.
- → Can I swap the biscuit base for something else?
Yes. Graham crackers, ginger biscuits or gluten-free cookie crumbs work well. Adjust the melted butter so the crumbs hold together when pressed into the tin.
- → How do I make a smooth, seed-free raspberry coulis?
Simmer raspberries with sugar and lemon until they break down, then pass the mixture through a fine mesh sieve, pressing with a spatula to extract flavor while leaving seeds behind. Cool before using.
- → Can any components be prepared ahead of time?
Yes. Make the biscuit base and coulis up to 2 days ahead and refrigerate separately. The filling can be assembled a day ahead; keep the finished cake chilled until serving.
- → Is freezing the cheesecake recommended?
You can freeze the assembled cheesecake for up to a month if tightly wrapped. Thaw overnight in the fridge; the texture may be slightly softer than freshly chilled.
- → What are good serving and garnish ideas?
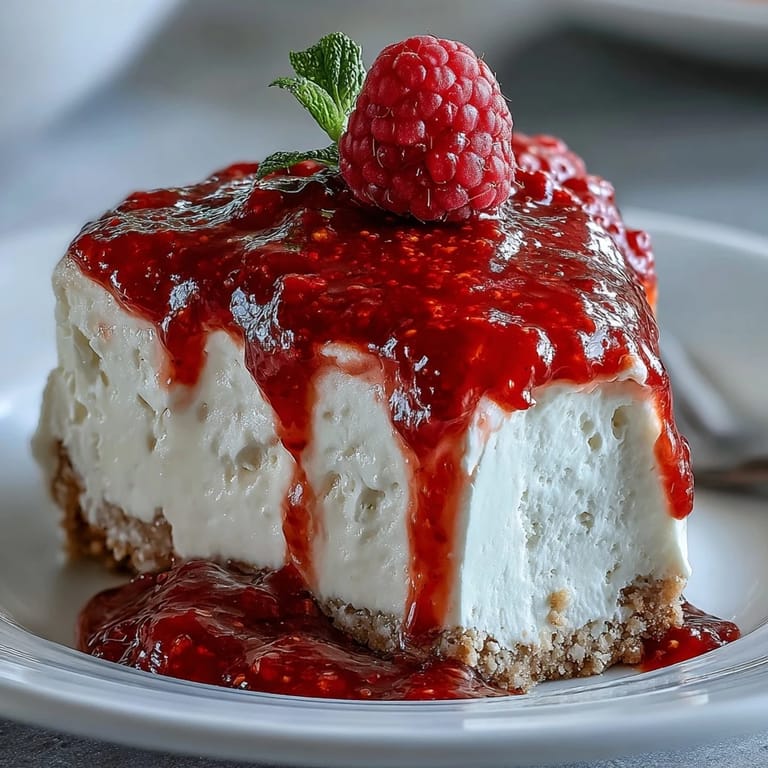
Drizzle chilled slices with the coulis just before serving. Garnish with fresh raspberries, lemon zest or mint leaves; pairs nicely with a glass of sparkling rosé.