 Save
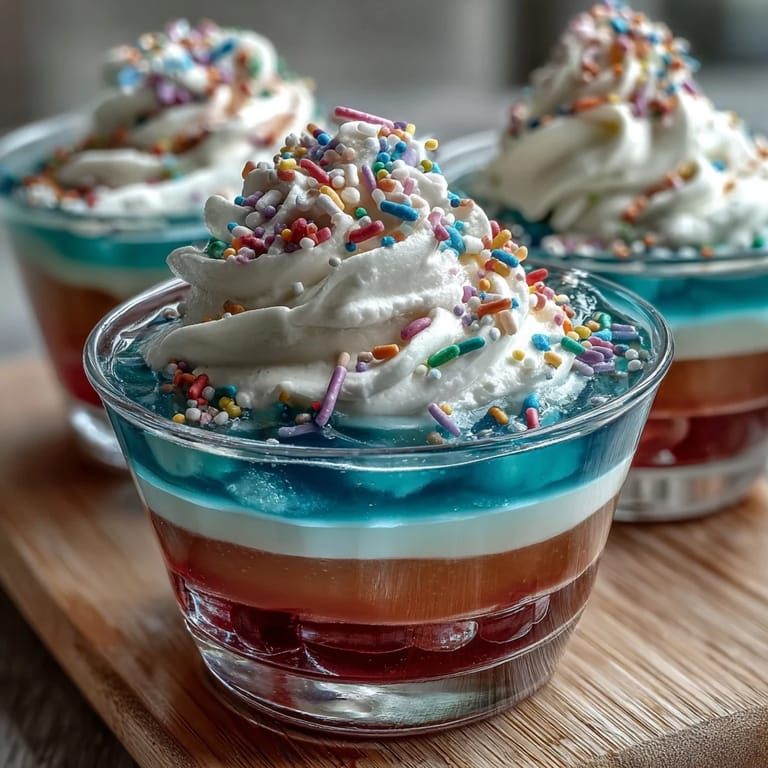
Save The first time I made Rainbow Jello Cups, the kitchen was filled with giggles from my little niece, who couldn't keep her eyes off the vibrant boxes lined up along the counter. Sprinkling each flavor into the mixing bowl felt more like conducting a colorful science experiment than prepping dessert. As the water boiled, fruity smells wafted through the house, reminding me that some recipes are as much about the anticipation as the outcome. Watching the layers firm up, I found myself peeking in the fridge every few minutes, partly impatient, partly enchanted by the transformation. These cups bring a playful energy to any gathering, and it's the process—slow, bright, and cheery—that makes them genuinely fun.
Last spring, I made a batch for my nephew's birthday party and watched everyone crowd around the dessert table, marveling at each layer like small works of art. The kids compared which colors were brightest and tried to guess the flavors, while parents reminisced about their own childhood Jello treats. By the end, the cups looked as though they'd been licked clean—a sure sign of their popularity. My only regret was not making more. Now, we all expect these rainbow cups at every family event, and no one is shy about stacking their plates.
Ingredients
- Colorful Jello packets: Vibrant flavors like strawberry, orange, lemon, lime, berry blue, and grape keep each layer distinct and lively; dissolve thoroughly for smooth layers.
- Boiling water: Essential to activate the Jello crystals—a rolling boil helps every bit dissolve.
- Cold water: Brings the mixture to the ideal temperature before pouring, and prevents cloudy layers.
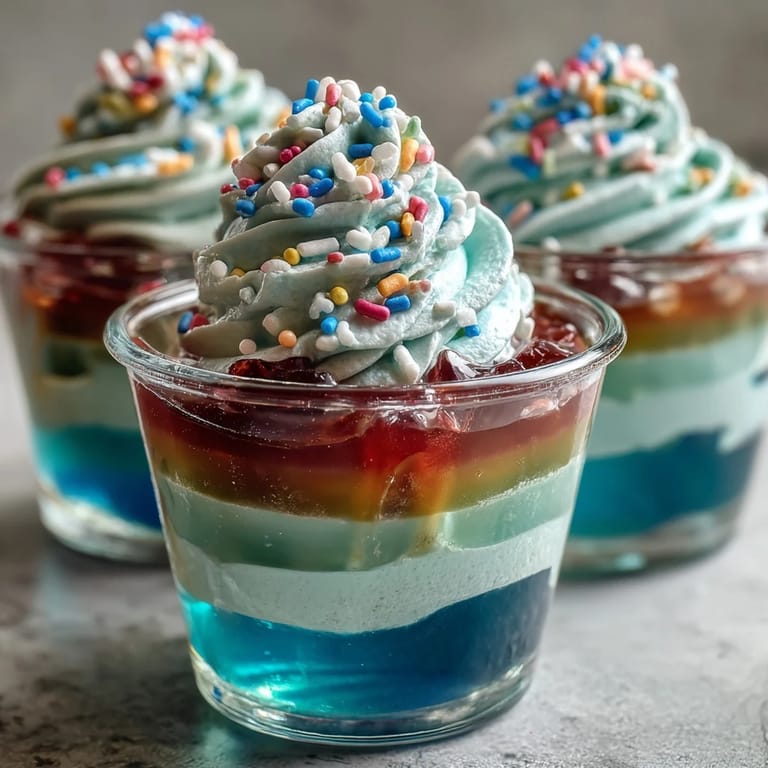
- Whipped cream or topping: Adds a creamy finish; chill it beforehand for perfect piping.
- Rainbow sprinkles: Optional but irresistible—makes the cups fun and festive; add just before serving to keep them crunchy.
Tired of Takeout? 🥡
Get 10 meals you can make faster than delivery arrives. Seriously.
One email. No spam. Unsubscribe anytime.
Instructions
- Start with the bottom layer
- Mix the grape Jello with boiling water, stirring until you see nothing but liquid and those sugary fumes rise. Once it's cool with cold water, pour a bit in each clear cup for a royal purple foundation.
- Build the rainbow
- Repeat with blue, green, yellow, orange, and red Jello flavors—always letting each layer chill until solid and gently pouring so the colors don't bleed.
- Creamy finish
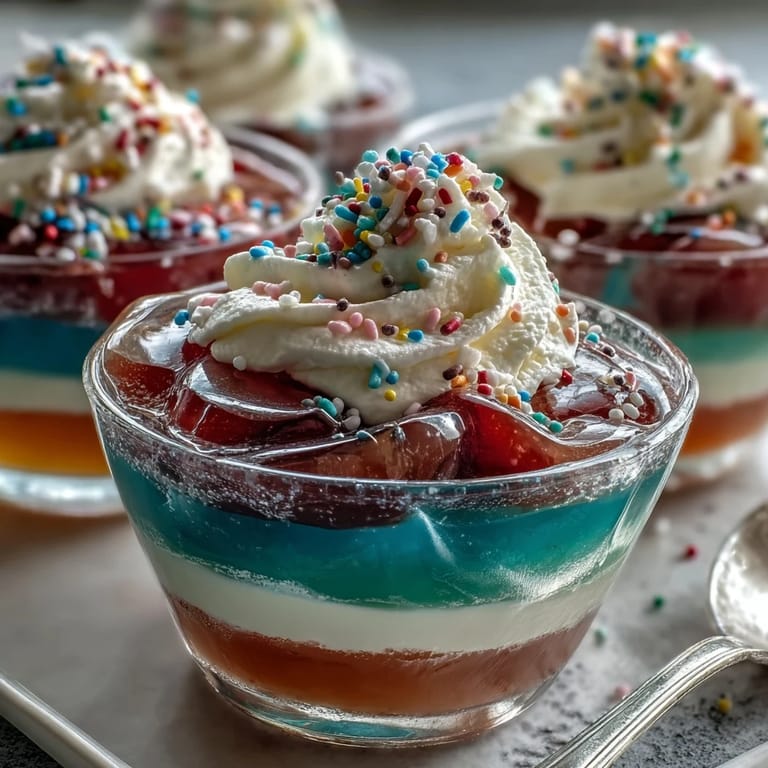
- Pipe or spoon whipped cream atop every cup when your last layer is firm; a little cloud for the rainbow.
- Sprinkle magic
- Scatter rainbow sprinkles as playfully or precisely as you like; they're best right before serving so they stay crisp.
- Chill and serve
- Keep the cups chilled until ready, and let everyone enjoy the reveal of each colorful layer as their spoon dives in.
 Save
Save Somewhere between the lime and lemon layers, my cousin wandered in, eager to help—and ended up taste-testing the leftovers in the bowl, quietly grinning at the tartness. As we worked together, it turned into a kitchen party, complete with playful banter and a small competition over who could make the tidiest layers. These moments are always messier but so much sweeter. Even my grandmother, more of a pie enthusiast, asked for a second cup after seeing the rainbow on her plate. It turns out, good food makes family traditions, whether it's fancy or just deliciously fun.
Getting the Layers Just Right
The secret to crisp stripes is patience. Allow each layer the full chill time—about half an hour—before pouring the next. If you're tempted to move quickly, remember: a watery layer spells disaster for the final design. Sometimes, I use the freezer for those first ten minutes of chilling, but don't leave it too long or you'll get icy patches. Glass cups help you keep an eye on progress and give the final reveal its punch.
Making It Allergy Friendly
I've tried coconut whipped cream and almond-based sprinkles for dairy-free friends—they work beautifully without losing any fun. Check your ingredient labels carefully if you're serving guests with allergies, since Jello and sprinkles often contain hidden additives. Sugar-free Jello cuts down on sweetness but keeps the show-stopping effect. A simple switch gives everyone a reason to indulge. The best part is watching everyone dig in without concern.
Serving and Party Prep Tips
Setting up the cups ahead of time is a lifesaver for busy hosts. I build the layers the night before so all that's left before guests arrive is the topping, letting me focus on decorations (and coffee). Kids love having their own clear cups, and smaller sizes keep sticky fingers to a minimum. Keep some napkins nearby for inevitable spills. When you're serving, mention the rainbow effect for extra excitement.
- Add the whipped cream just before serving to keep it fluffy.
- Chill between layers—not just at the end.
- Let kids help with sprinkles—they make it their own.
 Save
Save With a little patience (and plenty of giggles), these Rainbow Jello Cups always become the star of the party. Make extra—you'll never regret it.
Recipe FAQs
- → How do the layers stay separate?
Each Jello layer is poured and chilled until fully set before adding the next color, ensuring clean separation.
- → Can I use different Jello flavors or colors?
Yes, customize colors and flavors to suit your taste or party theme by substituting your favorites.
- → How long does the dessert take to prepare?
The active preparation is about 30 minutes; chilling time for all layers totals around 4 hours.
- → Is there a dairy-free option for the topping?
Absolutely! Use coconut whipped cream or your preferred non-dairy topping instead of traditional whipped cream.
- → Can I make this treat in advance?
Yes, prepare the Jello cups a day ahead and add whipped cream and sprinkles just before serving for best freshness.
- → What tools are needed?
You'll need clear cups, mixing bowls, a whisk or spoon, measuring cups, and a refrigerator for chilling.