 Save
Save The smell hit me before I even opened the oven door. That deep, bittersweet wave of dark chocolate mingling with butter, curling through the kitchen like a promise. I was making this cake on a drizzly Tuesday afternoon with nowhere to be, and I remember thinking how unfair it was that something this squidgy and rich could come together in under an hour. By the time I pulled those tins out, the tops had that beautiful matte finish, just barely cracked, and I knew I was onto something properly indulgent.
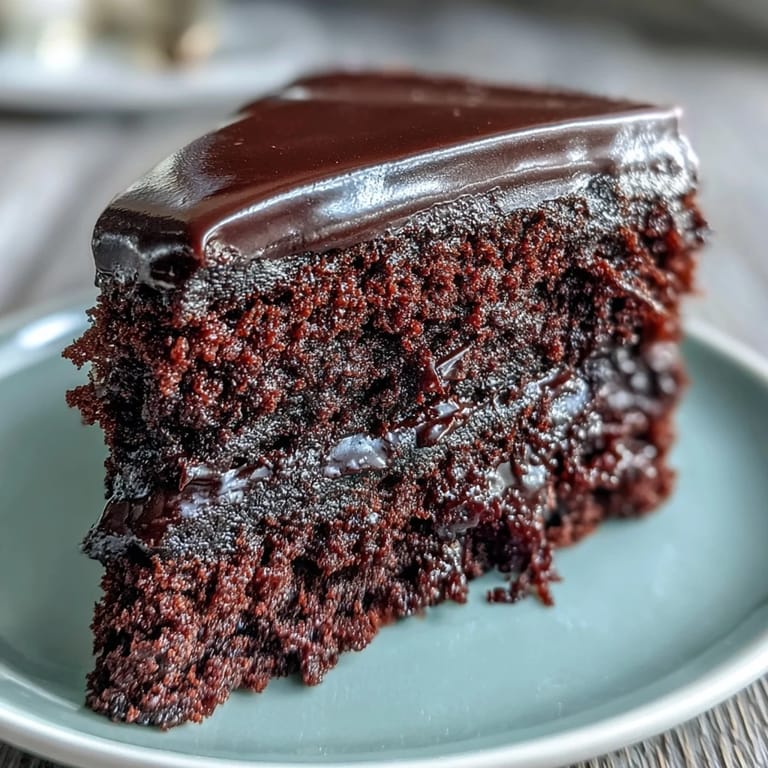
I first made this for my neighbor's birthday after she mentioned she didn't like overly sweet cakes. I panicked a bit because I'd already committed, but the dark chocolate and light brown sugar balance turned out to be exactly right. She cut into it at the table, and the inside was so dense and moist it practically gleamed. Everyone went quiet for a moment, then reached for seconds, and I felt that little thrill you get when a recipe just works.
Ingredients
- Unsalted butter: This gives the cake its tender crumb and rich mouthfeel, plus you control the salt level yourself.
- Dark chocolate (minimum 50% cocoa solids): Don't go higher than 70% or the bitterness can overwhelm, around 50 to 60% is the sweet spot for balance.
- Light brown sugar: The molasses adds a subtle caramel note that makes the chocolate taste even more complex.
- Large eggs: They provide structure and lift, whisk them well with the sugar until they're pale and airy.
- Plain flour: All purpose works beautifully here, no need for cake flour.
- Baking powder: Just enough to give a gentle rise without making it cakey instead of fudgy.
- Fine sea salt: A small amount sharpens all the flavors and keeps the sweetness in check.
- Cocoa powder: This deepens the chocolate intensity and gives the crumb that dark, velvety color.
- Whole milk: Full fat is essential for moisture and richness, don't swap for skim.
- Vanilla extract: A background note that makes the chocolate sing without announcing itself.
- Icing sugar: Sifted so the icing stays smooth and lump free, this is non negotiable.
Tired of Takeout? 🥡
Get 10 meals you can make faster than delivery arrives. Seriously.
One email. No spam. Unsubscribe anytime.
Instructions
- Prep Your Tins:
- Preheat your oven to 180°C (160°C fan) or 350°F, then grease two 20 cm round cake tins generously and line the bottoms with baking paper. This step matters more than you think, nobody wants half the cake stuck to the tin.
- Melt the Chocolate and Butter:
- Set a heatproof bowl over a pan of barely simmering water, add the butter and chopped dark chocolate, and stir now and then until it's completely smooth and glossy. Let it cool for a few minutes so it doesn't scramble the eggs later.
- Whisk the Sugar and Eggs:
- In a large bowl, whisk together the light brown sugar and eggs until the mixture is pale, thick, and holds a ribbon when you lift the whisk. This takes about three to four minutes by hand, less with an electric whisk.
- Combine Wet Ingredients:
- Stir the melted chocolate mixture into the eggs and sugar, followed by the vanilla extract, and mix until it's all evenly blended and glossy.
- Sift the Dry Ingredients:
- In a separate bowl, sift together the plain flour, baking powder, salt, and cocoa powder so there are no lumps. This also helps them incorporate more evenly into the batter.
- Fold and Add Milk:
- Gently fold the dry ingredients into the wet mixture in two or three additions, alternating with splashes of whole milk, until you have a smooth, pourable batter. Don't overmix or the cake can turn tough.
- Bake the Cakes:
- Divide the batter evenly between the two prepared tins and bake for 30 to 35 minutes, until a skewer poked into the center comes out with just a few moist crumbs clinging to it. The tops should look set but still soft.
- Cool Completely:
- Let the cakes cool in their tins for 10 minutes, then turn them out onto a wire rack and leave them until they're completely cold before icing.
- Make the Icing:
- Melt the chopped dark chocolate and butter together over simmering water, then remove from heat and gradually beat in the sifted icing sugar and milk until the icing is smooth, thick, and glossy.
- Assemble and Ice:
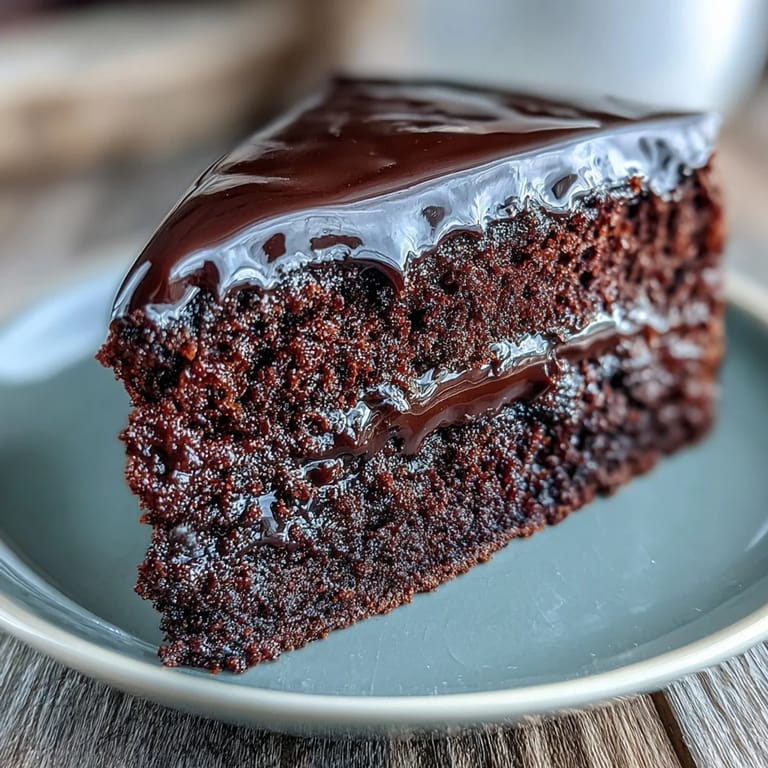
- Place one cake layer on your serving plate, spread about a third of the icing over the top, then add the second layer and use the remaining icing to cover the top and sides. Smooth it with a palette knife or the back of a spoon for that silky finish.
 Save
Save The first time I served this at a family gathering, my aunt, who usually picks at dessert, asked if she could take the last slice home. That's when I knew this wasn't just another chocolate cake. It had become the one people requested by name, the one that turned a regular afternoon into something a little bit special.
Making It Your Own
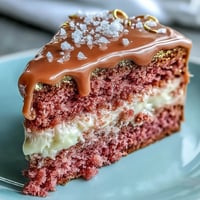
I've tucked a thin layer of raspberry jam between the cakes before, and the tartness cuts through the richness in the most satisfying way. You could also fold in a handful of chopped toasted hazelnuts into the batter for texture, or swirl some salted caramel through the icing if you're feeling adventurous. It's a forgiving recipe that welcomes a little creativity.
Storage and Serving
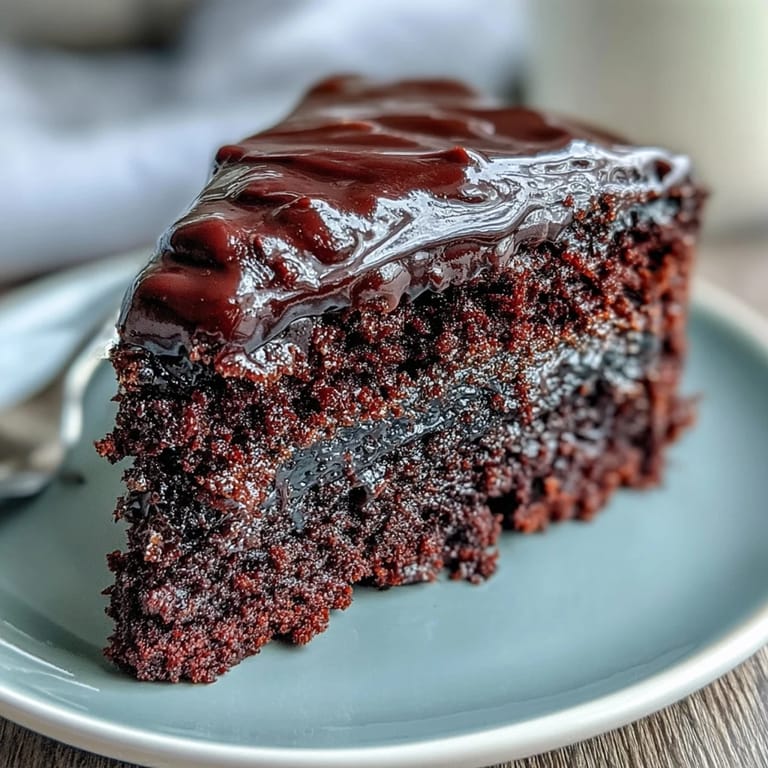
This cake keeps beautifully in an airtight container at room temperature for up to three days, and honestly, it improves as it sits. The crumb gets even denser and the icing sets into this perfect semi firm layer. I like serving it with a dollop of lightly whipped cream or a handful of fresh raspberries to balance the richness, especially if it's warm outside.
What You'll Need
You don't need any special equipment, just two 20 cm round cake tins, a couple of mixing bowls, and a whisk. A heatproof bowl for melting chocolate, a spatula or palette knife for icing, and a wire rack for cooling are the only other bits.
- If you don't have round tins, a square tin works too, just adjust the baking time slightly.
- An electric whisk speeds things up, but a hand whisk and a bit of elbow grease does the job just fine.
- Always line your tins with baking paper, it saves so much heartache when you're turning them out.
 Save
Save This is the kind of cake that makes people lean back in their chairs and sigh happily, the kind that gets remembered. I hope it brings you as much joy to make and share as it's brought me.
Recipe FAQs
- → Can I use milk chocolate instead of dark chocolate?
Yes, you can substitute milk chocolate, but the cake will be sweeter and less intense in chocolate flavor. Dark chocolate with at least 50% cocoa solids provides the best rich, fudgy texture and balanced sweetness.
- → How do I know when the cake is done baking?
Insert a skewer or toothpick into the center of the cake. It should come out with a few moist crumbs attached, not wet batter. The cake should also spring back slightly when gently pressed and start pulling away from the tin edges.
- → Can I make this cake in advance?
Absolutely. The unfrosted cake layers can be baked up to 2 days ahead, wrapped tightly in cling film, and stored at room temperature. Once iced, the cake keeps well in an airtight container for up to 3 days.
- → Why is my chocolate icing too runny?
The icing may be too warm or need more icing sugar. Let it cool at room temperature for 10-15 minutes to thicken, or refrigerate briefly while stirring occasionally. If still runny, gradually beat in more sifted icing sugar until you reach the desired consistency.
- → Can I freeze this chocolate cake?
Yes, both the unfrosted cake layers and the finished iced cake freeze well for up to 3 months. Wrap tightly in cling film and foil. Thaw overnight in the refrigerator, then bring to room temperature before serving for the best texture and flavor.
- → What can I use instead of whole milk?
Semi-skimmed milk works well, though the cake may be slightly less rich. For dairy-free alternatives, use unsweetened almond or oat milk. The texture and moisture will remain similar, though the flavor may vary slightly.